Overview
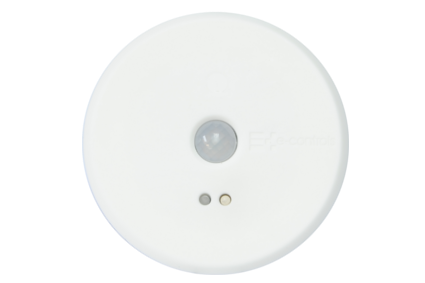
e-Detector Noiseless Mains is a motion sensor for ceiling mounting, used to detect motion through the detection of heat changes coming from bodies in motion in the covering area. The device is including an infrared sensor that detects with high precision any movement in a room or zone in a building.
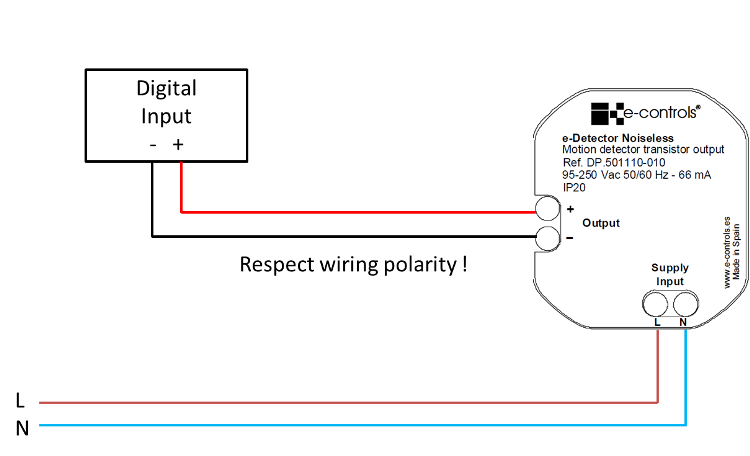
The product includes an optocoupled transistor output that avoids any noise of the traditional mechanical relays, and has been designed to be connected at a voltage digital input of a system to monitor the motion detected.
This model is supplied directly at mains and is specially designed for rooms where only mains supply is available.
A surface mount enclosure is available to install the product when flush mounting is not possible. Click on the following link to visit the web page of the enclosure @e-Multisensor Surface@http://www.e-controls.es/iluminacion/detectores-movimiento-y-luminosidad...@.
e-Detector Noiseless Mains is a motion sensor for ceiling mounting used to detect people or bodies in motion in a building. The device has an infrared motion sensor that detects any movement with a very high precision and a transistor output type is used to connect the device to a voltage digital input, that activates every time a valid movement is detected. The output becomes active during 5 seconds after a valid detection.
The device has a potentiometer to adjust the sensitivity of the motion sensor providing a very flexible device installable in any environment.
A red LED indicator in front of the device blinks shortly when the device is detecting motion. The pushbutton allows the installer to switch off the LED, avoiding lighting it when a movement is detected.
Installation
The device has an enclosure for flush mounting on roof ceilings.
Mounting instructions:
1. Drill a 65mm diameter hole on the ceiling.
2. Connect wires on the correct terminals:
• Connect the power supply in the L and N terminals.
• Connect the transistor output + and - to the digital input terminals, respecting the polarity.
3. Adjust sensibility detection potentiometer on the side of the device, to the desired value.
4. Clip the springs and insert the product into the hole, releasing the springs when placed in the hole.
5. Power up the supply voltage and check the red LED indicator is switched on during some seconds (warm up time).
Caution:
• The device can’t be installed over shelves, behind curtains,near heat/cool air handling units and avoid direct sun radiation over the device.
• Disconnect the device from the power supply before mounting or moving the sensor.
• Do not leave cables peeled or turned around the device.
• Do not connect the device with the hands wet.
• Do not open or drill the device.
• Keep the device and cables away from humidity and dust.
• Clean the front cover with a water moisture soft cloth.


 | Passatge Garrotxa, 6 | 08830 Sant Boi de Llobregat | Barcelona | Spain | Tel.: +34 93 652 55 21 | Fax +34 93 652 55 22